
Resolution means pixels
A photo's resolution is its size in pixels, such as 1,200 × 1,600. Increasing it means making more pixels. The DPI or PPI number stored in the file is only a printing instruction. Changing 72 to 300 in an editor leaves every pixel the same, so the print comes out the same. The 300 DPI guide explains the difference.
There are two ways to make more pixels:
- Resampling (interpolation). The editor makes new pixels by averaging their neighbours. It is free, built into every editor, and fine for small increases of up to about 1.5×. Beyond that, edges go soft, because no new detail is created.
- AI upscaling. A model trained on millions of photos predicts the detail a bigger version would have: hair, fabric, edges, text. This is what makes a 2× or 4× enlargement look sharp. The catch is that the detail is predicted, so faces and lettering can change slightly. Check them at full size.
Ways to increase resolution, compared
| Method | Cost | Type | Best for |
|---|---|---|---|
| Photoshop or Lightroom: Super Resolution | Cost: Adobe subscription | Type: AI, doubles each side | Best for: Photographers already on Adobe |
| Photoshop: Image Size with Preserve Details 2.0 | Cost: Adobe subscription | Type: Enhanced resampling | Best for: Modest increases with control |
| Upscayl (desktop app) | Cost: Free, open source | Type: AI, 2× to 4× and more | Best for: Free, private, unlimited, on a decent computer |
| GIMP: Scale Image | Cost: Free | Type: Resampling | Best for: Small increases only |
| Free browser upscalers (OpenPixels, upscale.tools) | Cost: Free, no account | Type: AI, runs on your device | Best for: One-off images, small to medium files |
| Topaz Gigapixel | Cost: From $12 a month on the web | Type: AI, faithful | Best for: Very large, detailed enlargements |
| Resly | Cost: $1.99 an image, no account | Type: AI, generative | Best for: Getting a photo to an exact print size in one step |
Prices from vendor sites, November 2026. We make Resly.
Step by step, by tool
- 1
Photoshop or Lightroom
In Lightroom, right-click the photo and choose Enhance, then Super Resolution. In Photoshop, open the file itself in Camera Raw (the Camera Raw Filter doesn’t offer it), right-click the thumbnail and choose Enhance. Super Resolution doubles the width and height, so a 12-megapixel photo becomes 48. For a smaller increase, use Image › Image Size, tick Resample, choose Preserve Details 2.0 and type the new size.
- 2
Upscayl, free on a computer
Download Upscayl for Windows, Mac or Linux, open the image, pick a model (the general photo model for photos), choose the scale and click Upscayl. It runs on your own computer, so nothing is uploaded, but it is slow without a reasonable graphics card.
- 3
In a browser, free
OpenPixels and upscale.tools run the AI in your browser tab with no account. They suit small and medium files: upscale.tools takes images up to about 6 megapixels on a computer. See upscaling without an account for the full list and their limits.
- 4
To an exact print size
If the goal is a print, the size you need is set by the paper, not by 2× or 4×. On Resly you type the print size, such as 16×20, and the photo comes back at that shape and size, with the background extended rather than cropped where the shapes differ. It delivers up to 16 megapixels. Upscale a photo.
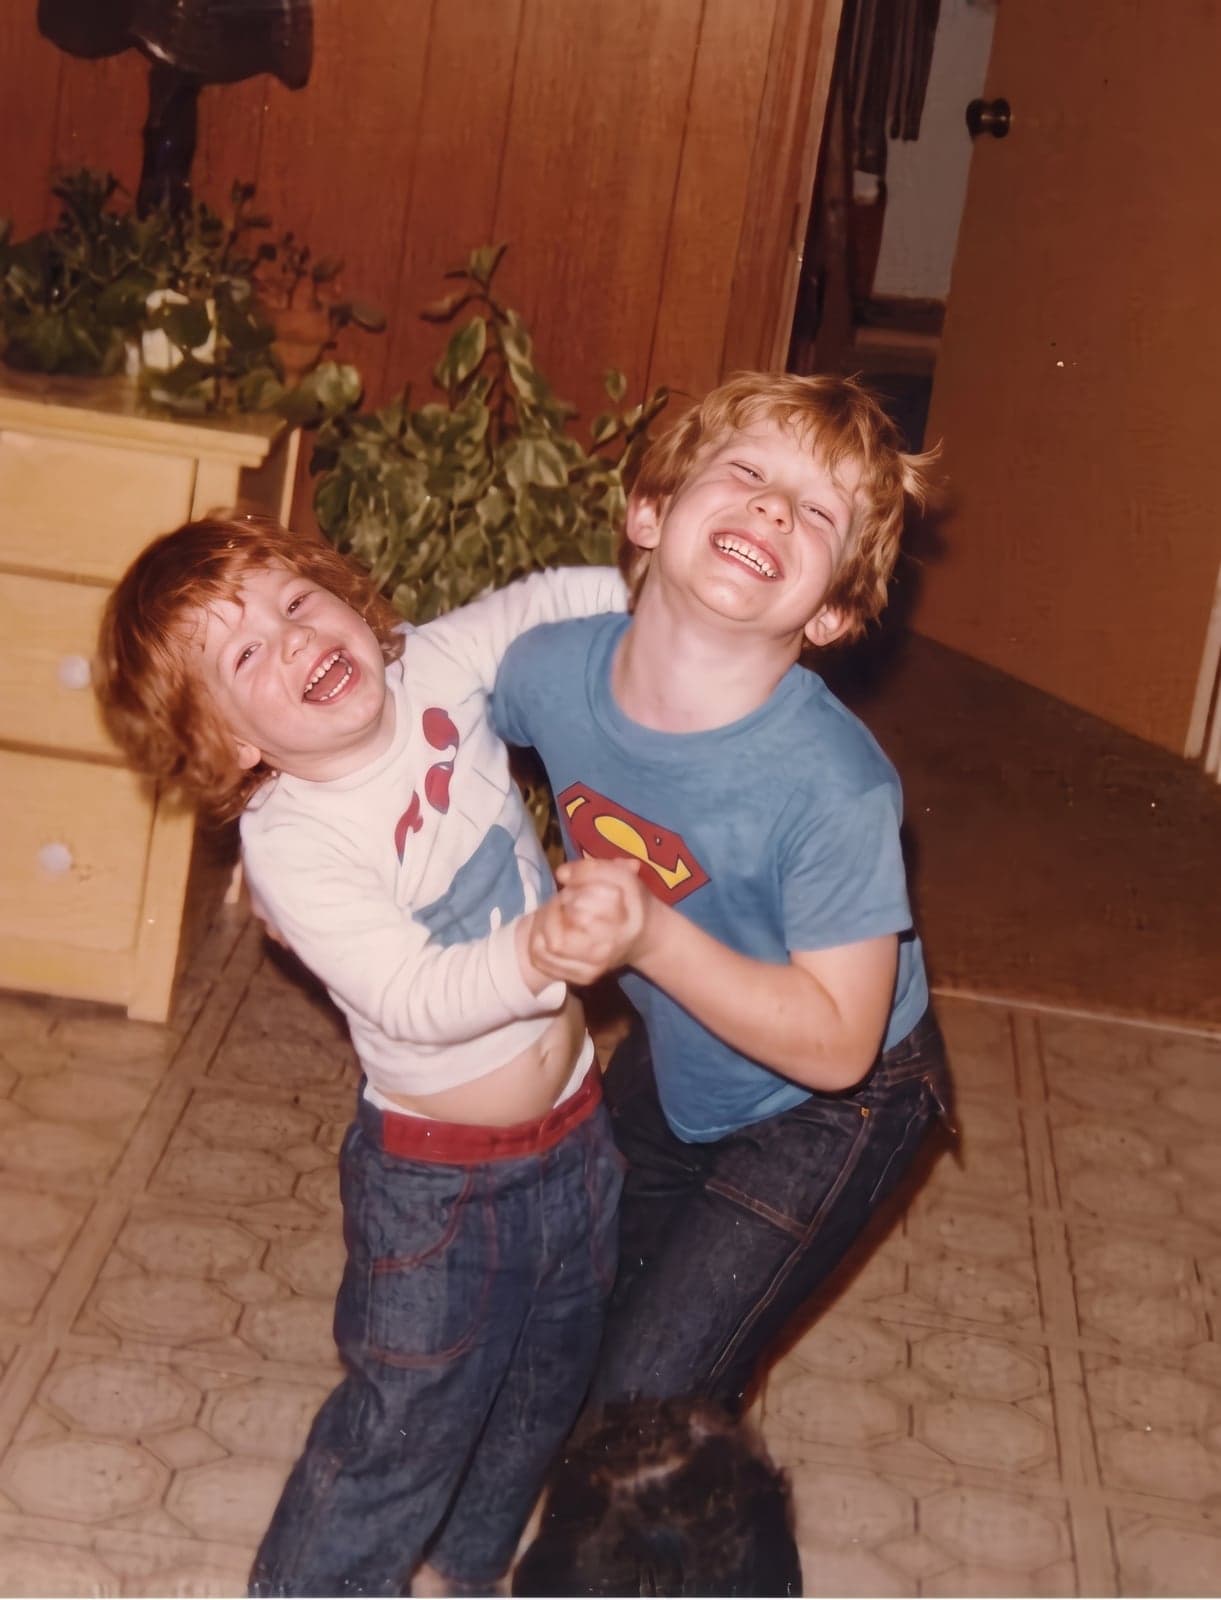
 BeforeAfter
How much resolution you need
For a print you hold, 300 pixels per inch. For a poster or canvas seen from a step away, 150 is plenty. For a screen, the screen's own size: 1,920 × 1,080 for a full-HD display.
| Sharp (300 PPI) | On a wall (150 PPI) | |
|---|---|---|
| 4×6 | Sharp (300 PPI): 1,200 × 1,800 | On a wall (150 PPI): 600 × 900 |
| 5×7 | Sharp (300 PPI): 1,500 × 2,100 | On a wall (150 PPI): 750 × 1,050 |
| 8×10 | Sharp (300 PPI): 2,400 × 3,000 | On a wall (150 PPI): 1,200 × 1,500 |
| 11×14 | Sharp (300 PPI): 3,300 × 4,200 | On a wall (150 PPI): 1,650 × 2,100 |
| 16×20 | Sharp (300 PPI): 4,800 × 6,000 | On a wall (150 PPI): 2,400 × 3,000 |
| 18×24 | Sharp (300 PPI): 5,400 × 7,200 | On a wall (150 PPI): 2,700 × 3,600 |
| 24×36 | Sharp (300 PPI): 7,200 × 10,800 | On a wall (150 PPI): 3,600 × 5,400 |
The DPI checker tells you, in your browser, what your photo can already print at.
What won’t increase resolution
- Changing the DPI or PPI number on its own (Resample unticked in Photoshop, or a "DPI converter").
- Saving at a higher JPEG quality. That keeps more of what is there; it doesn’t add anything.
- Screenshotting the photo at a bigger zoom. A screenshot is capped at your screen’s pixels and is usually smaller than the original.
- Sharpening. It makes edges look crisper, then adds halos when the image is printed big.
And the best fix costs nothing: if the photo came from Facebook, a text message or a screenshot, the original file in someone’s camera roll is usually several times bigger. See printing a photo from Facebook.