
Which photo to choose
There is no rule that the obituary photo has to be recent or formal. Families often choose the photo that looks most like the person everyone remembers: Dad at fifty with the fishing hat, not Dad at ninety in the hospital. What matters is that people who knew them recognise them at a glance.
- The face should be in focus, facing the camera or close to it, and not in shadow.
- Head and shoulders works best. The photo is printed small, often about two inches wide in a newspaper, so a full-length shot makes the face tiny.
- A plain or simple background crops more easily than a busy one.
- Sunglasses, hats pulled low and heavy shadows make a face hard to recognise at that size.
- If the best photo is a group shot, it can be cropped to just them. See making a portrait from a group photo.
Some families print two: a photo from younger years beside a recent one. Many newspapers allow it for a small extra charge, and online obituaries usually allow a whole gallery.
What the newspaper or funeral home needs
Ask whoever is placing the obituary. Most funeral homes handle the newspaper and the online memorial for you and just need the photo file. In general:
- A JPG is accepted everywhere. Send the original file, not a screenshot of it.
- Send the biggest version you have. A photo straight from the phone that took it is better than the copy in a group chat or on Facebook, which has been made smaller.
- Don't crop it tightly yourself. Leave room around the head and shoulders and let them crop it to their column.
- A printed photo can be scanned. Many funeral homes will scan a print you bring in, or see the next section.
When it is the only photo you have
Often the photo that feels right is the hardest one to use: a faded print from the 1970s, a creased wallet photo, a tiny school portrait, the one picture from a phone that was lost. That is common, and it is usually fixable.
- 1
Get it into a file
Scan the print at 600 DPI, or take it out of its frame, lay it flat by a window with the flash off and photograph it from directly above. Wipe off dust first.
- 2
Repair the damage
Fading, creases, scratches and stains can be repaired on the scanned copy. A photo editor or a restoration studio can do it, or AI restoration in seconds: Resly does it on the restore old photos page.
- 3
Check that it is still them
This is the step that matters. Any restoration, by hand or by AI, rebuilds detail that is missing, and where a face was badly damaged or blurred, it can come out looking slightly like someone else. Compare the result with the original. If the eyes, smile or nose look wrong, use a gentler fix or the original as it is. A faded photo that is truly them is better than a perfect one that isn't.
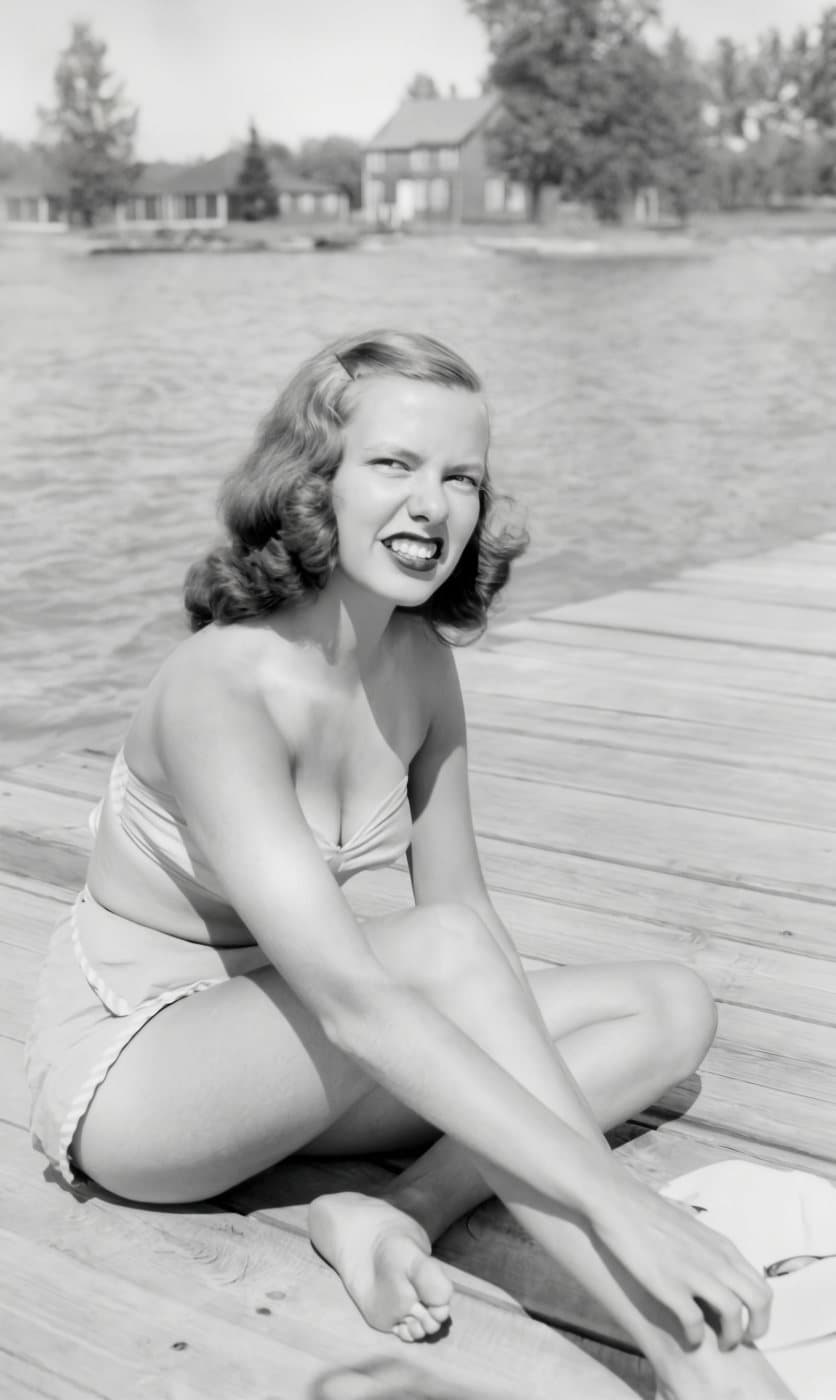
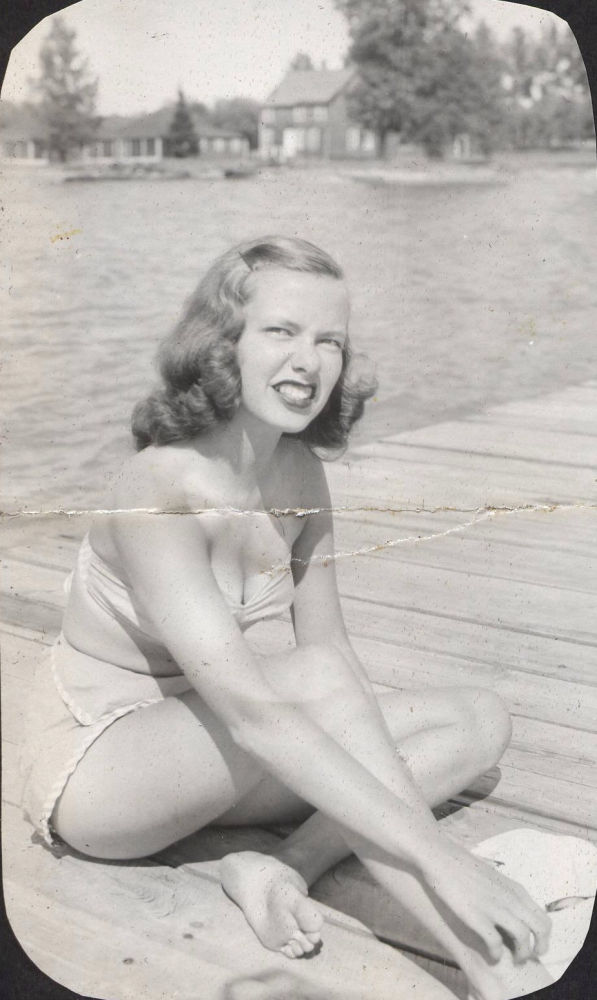 BeforeAfter
Keeping the original safe
Give the funeral home a copy, not the only print. Photos get lost between offices, easels and boxes. Scan it first, keep the original at home, and save the file in two places, so that the photo everyone will remember from the service can't be lost. Share the file with the family afterwards; many will want it.