
Before you start: scan it well and repair it first
Colorizing works from the tones in the photo, so the copy you start with matters. Scan the print at 600 DPI on a flatbed scanner, or photograph it flat in daylight with the phone held straight above it and the print filling the screen.
Repair damage before you add color. A scratch or a crease in a black-and-white photo is a thin gray line; colorized, it becomes a bright streak across a cheek or the sky. If the photo has scratches, tears or fading, see how to restore old photos first, or use a tool that does both in one pass.
Convert the scan to RGB color before you start. Black-and-white scans are often saved in grayscale, and color can't be added to a grayscale file.
Way 1: colorize by hand in Photoshop or GIMP
This is how colorists worked for decades, and it is still the way to get exactly the color you want.
- 1
Add a new layer for each color
One for skin, one for hair, one for each piece of clothing, one for the sky. Set each layer's blend mode to Color. In GIMP the mode is called HSL Color.
- 2
Paint with a soft brush
Paint over the area at full opacity. The Color mode keeps the photo's light and shade and only adds the hue, so you can paint loosely and the detail shows through.
- 3
Lower the opacity until it looks real
Hand-painted color almost always starts too strong. Old photos look most natural with soft, slightly muted color: often 40 to 70 percent opacity on each layer.
- 4
Vary the skin
Skin is not one color. Cheeks, nose and ears are warmer and pinker; the forehead is yellower; shadows are cooler. A second, lighter layer of warmth on cheeks and lips is what stops a face looking like a mask.
A single portrait takes one to three hours by hand. A group photo or a busy street scene takes days. Photopea, a free browser editor, has the same layers and blend modes as Photoshop if you don't have it.
Way 2: Photoshop's Colorize filter
Recent versions of Photoshop include an automatic colorizer among their Neural Filters.
- 1
Open Neural Filters
With the photo open in RGB mode, choose Filter, then Neural Filters. Colorize may need a one-time download from Adobe's cloud before it can be switched on.
- 2
Switch on Colorize
The filter colors the whole photo automatically. Sliders let you shift the overall balance and saturation, and you can place focal points to tell it what color a particular area should be.
- 3
Output to a new layer
Send the result to a new layer rather than the original, so you can mask it, lower its opacity or paint corrections over it with a brush in Color mode.
It is fast, but the result is a starting point. Expect to fix areas where the color bleeds across an edge, where clothing comes out a muddy brown, or where skin is too orange. It also doesn't repair damage, so restore the photo first.
Way 3: an AI colorizer
AI colorizers learned from millions of color photos what color things usually are: skin, sky, grass, wood, brick. They color a whole photo in seconds with no skill needed.
They differ in three ways that matter. Whether they repair damage first or color the scratches too. Whether they keep faces the same, since some quietly smooth skin or change features. And what size you get back: many free apps return a small, screen-sized file, which is fine for sharing and too small to print.
Resly repairs and colorizes in one pass and keeps each face the same person. Upload the photo on the colorize photos page, choose a print size if you want one, and it comes back sharp enough to frame.
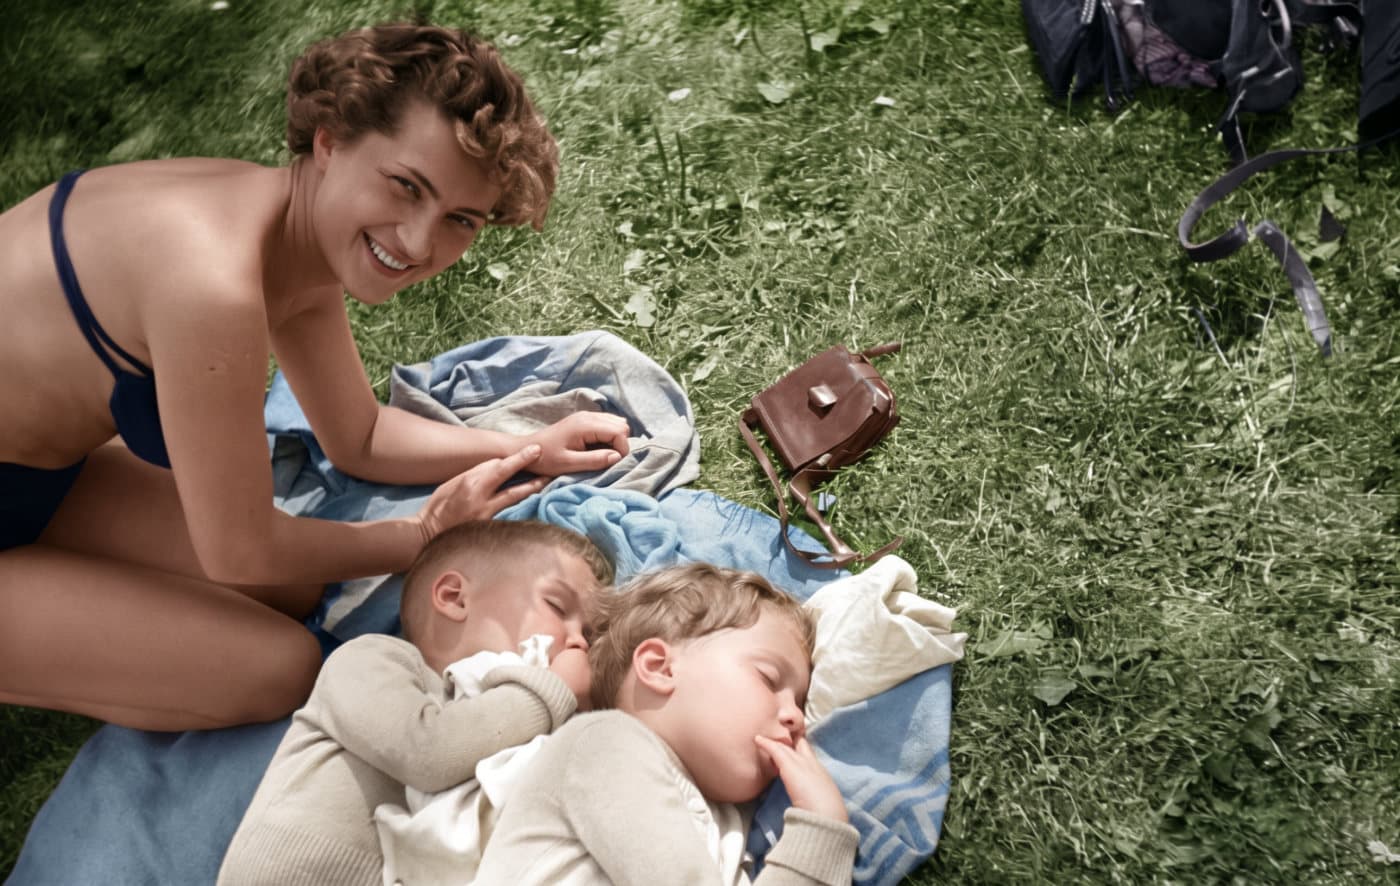
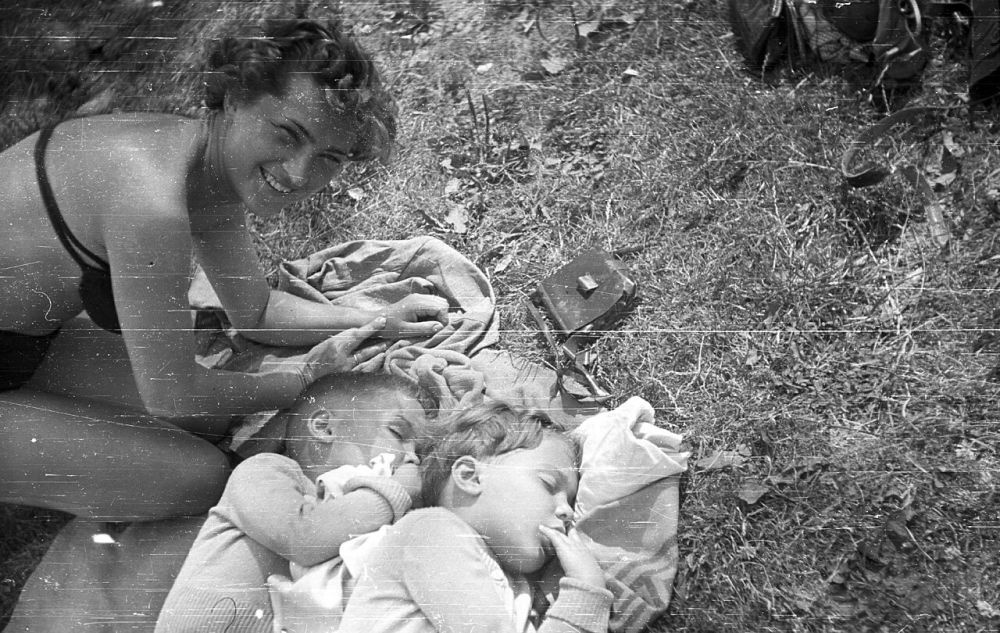 BeforeAfter
Which way to choose
| Method | Time | Skill | Best for |
|---|---|---|---|
| By hand in Photoshop, GIMP or Photopea | Time: Hours per photo | Skill: High | Best for: A photo where you know the real colors and want them exact |
| Photoshop's Colorize filter | Time: Minutes, plus cleanup | Skill: Some | Best for: Photoshop users who want a quick base to refine |
| AI colorizer | Time: Seconds | Skill: None | Best for: Family photos, damaged photos, many photos at once |
How to make the colors believable
- Ask the family. Someone may remember the color of a car, a dress or a front door, and a known color beats any guess. Write it down with the photo.
- Keep it soft. Film of the 1940s and 1950s never had the saturation of a modern phone. Muted color reads as old and real; bright color reads as fake.
- Check the face against the black-and-white. If colorizing has made someone look less like themselves, try again or keep that photo in black and white.
- Keep both versions. The colorized copy is an interpretation; the black-and-white is the record.
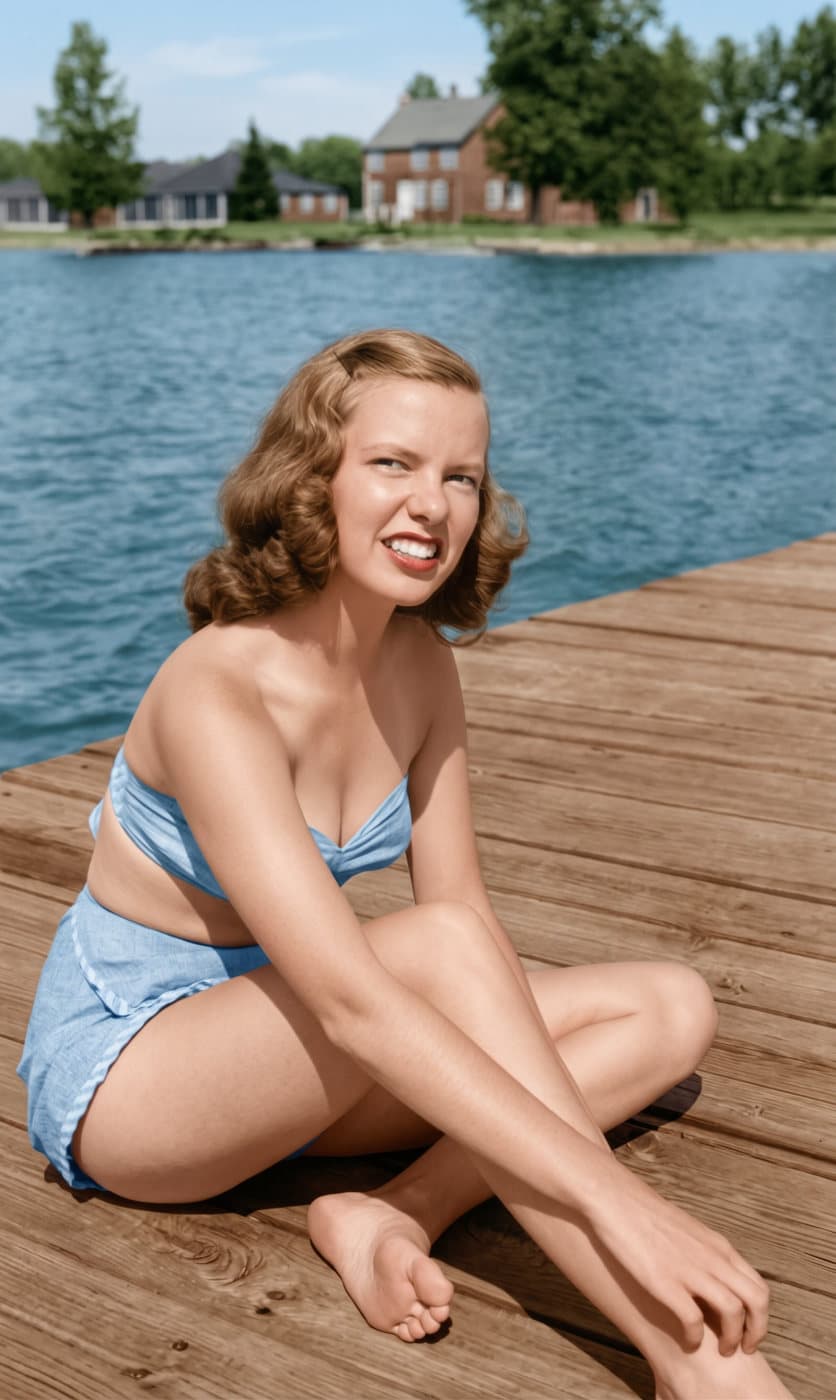
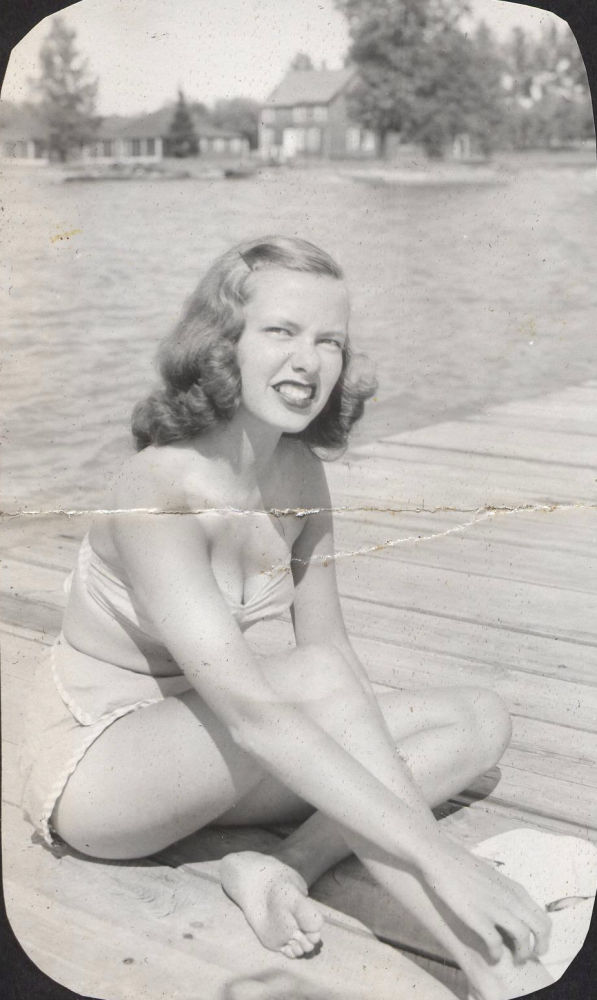 BeforeAfter