
First: what to do with wet photos right away
Wet photos can usually be saved if they are dealt with quickly. After about 48 hours wet, mold starts to grow and prints stuck together become hard to separate without tearing the image.
- 1
Handle them by the edges
The image layer on a wet print is soft and comes off at a touch. Support each print from underneath and never rub or blot the image side.
- 2
Rinse off mud and dirt
Only if they are dirty. Fill a tray or sink with clean, cold water and gently lower each print in, rocking it slowly. Change the water when it gets cloudy. Distilled water is best if there is grit or mud.
- 3
Air-dry face up
Lay each print image side up on clean paper towels, blotting paper or a cotton towel, not touching each other. Run a fan in the room for air flow. No hair dryer, radiator or sun: heat makes them curl and stick. Prints can also be hung by a corner from a line with clothespins.
- 4
Freeze what you cannot dry in time
If there are too many to dry within a day or two, put wax paper between the prints, seal them in freezer bags and put them in the freezer. Freezing stops mold and buys time; thaw and dry a few at a time later.
Prints stuck together, in albums or behind glass
- Prints stuck together: soak the stack in clean cold water and try to ease them apart gently. If they won't come apart, stop; freeze them and ask a photo conservator.
- Albums: take the prints out while wet if they lift easily. If they are stuck to the pages, dry the album open and standing up with paper towel between the pages, or freeze the whole album.
- Prints behind glass in a frame: don't try to pull them off the glass. Take the frame apart and, if the print is stuck to the glass, dry or freeze it with the glass still attached and ask a conservator.
- Tintypes, ambrotypes, daguerreotypes and very old prints may not survive water at all. Keep them as they are and get a conservator's advice before rinsing anything.
After it dries: flatten, then scan
Dried prints usually curl and may have tide-mark stains. Flatten a curled print by pressing it between sheets of clean paper under a stack of heavy books for several days. Don't force a brittle print flat.
Then scan everything, even prints that look fine. Water damage can keep developing, and a scan is the copy you can repair, print and share. Scan at 600 DPI, or photograph each print flat in daylight with the flash off.
If there are prints you can't save, photograph each one before throwing it away. A photo of a damaged print can still be restored.
Restoring the damage
On the scanned copy, water damage shows up as stains and tide marks, areas where the image lifted or washed away, color shifts, and mold spots. Small spots can be fixed by hand with the healing tool in GIMP or Photopea.
For larger damage, AI restoration repairs the whole photo at once and corrects the color. Where part of a face washed away completely, any restoration has to rebuild it from what is left, and it may not look exactly like them. Compare the result with the original before you print it.
Resly restores water-damaged photos on the restore old photos page: upload the scan, keep the colors or add color, and choose a print size if you want one.

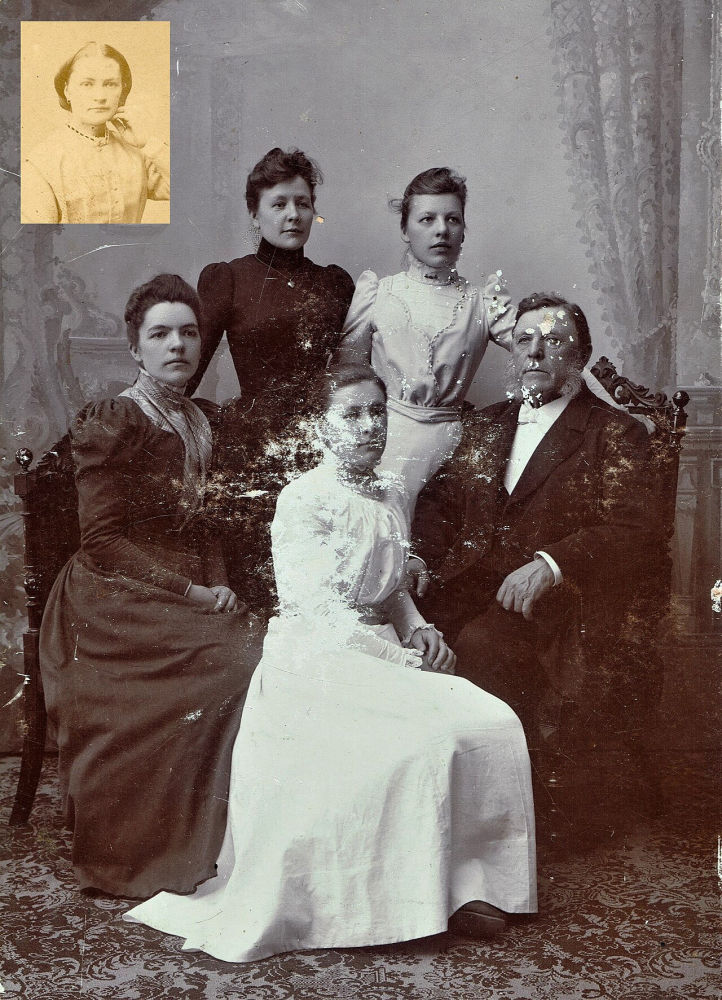 BeforeAfter